When you’re taking photos in polar regions, you’ll want a weather-sealed camera and loads of spare batteries – the cold zaps power rather quickly.
Bring along two key lenses: a 24-70mm for landscapes and a 70-300mm for wildlife photos.
The best light comes early morning and evening, and remember to bump up exposure by +1 or +2 stops because of the bright snow. For wildlife shots, keep your shutter speed at 1/1000 second or faster, and aim for the animal’s eyes whilst leaving room in the direction they’re looking.
Keep your gear safe in waterproof bags, and stop your lenses from fogging up by letting them adjust to temperature changes bit by bit. Get these basics right, and you’ll be taking brilliant polar shots in no time.
🐧 Polar Cruise Enquiry 🐻❄️
Our team of polar travel specialists have personally explored both the Arctic and Antarctic regions – from tracking polar bears in Svalbard to kayaking with penguins off the Antarctic Peninsula. Let us find the right polar expedition cruise for you.
Key Takeaways
- Keep spare batteries close and toasty – the bitter cold drains them like mad in polar regions.
- When snapping snow photos, bump up your exposure by +1 or +2 stops so they don’t come out too dark.
- Go for a weatherproof camera with zoom lenses: 24-70mm works brilliantly for landscapes, whilst 70-300mm is spot on for wildlife.
- The best wildlife shots and lovely light happen early morning or around sunset.
- Pop your gear in waterproof bags to keep it dry, and let your lenses warm up slowly to stop them getting foggy.
Polar Cruise Camera Equipment
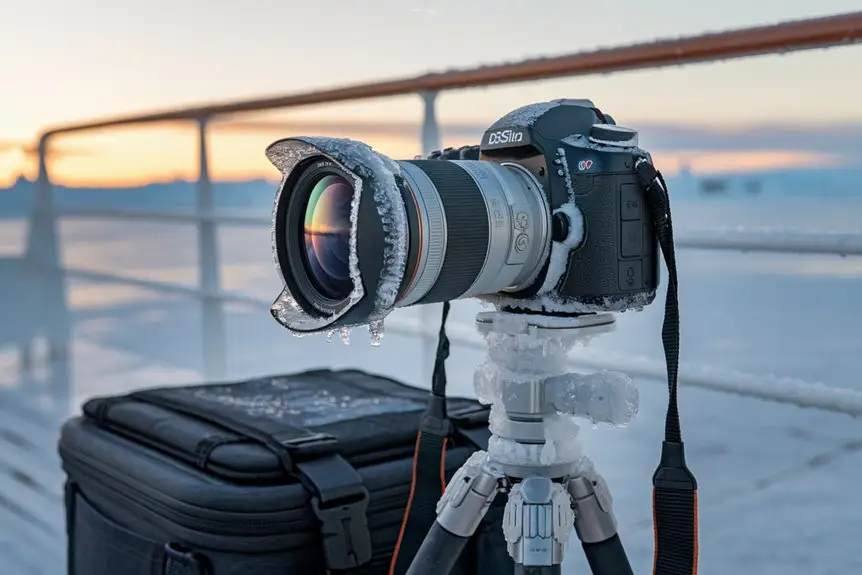
Planning a polar cruise? You’ll need the right camera kit to handle harsh conditions and snap brilliant Arctic or Antarctic scenes.
Get yourself a weather-sealed DSLR or mirrorless camera and pack spare batteries – the cold really does eat up power.
Two zoom lenses should do the trick: a 24-70mm for sweeping views and a 70-300mm for catching wildlife.
Don’t skip on the extras – lens filters are crucial, especially polarising ones to tackle glare from snow and ice.
You’ll want a solid tripod that can cope with the cold, and waterproof bags to shield your gear from snow and sea spray.
Pop some silica gel packets in your camera bag to fight moisture, and pack lens cleaning bits to sort out any saltwater marks.
It’s worth bringing a spare camera body too, just in case your main one goes wrong.
Polar Cruise Photography Skills
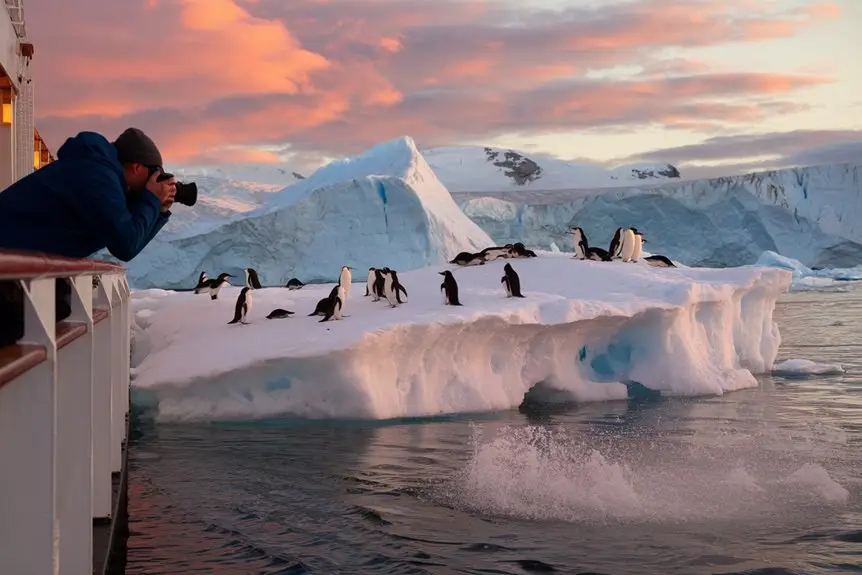
Getting good polar photos comes down to three things: timing, composition, and getting your exposure right.
You’ll want to know when wildlife might show up and what the light’s doing – early morning and evening are brilliant times as that’s when most animals are out and about. Keep your eyes peeled for ice chunks breaking off glaciers and whales jumping out of the water.
Set up your shots using the rule of thirds, and think about where you put the horizon to show off those massive polar views properly.
When you’re shooting animals, get their eyes sharp and leave them room to look into the frame.
Get to grips with your camera’s exposure settings – polar light can be tricky. You’ll need to adjust exposure for snowy scenes, usually going up by +1 or +2 stops so they don’t come out too dark.
When the light keeps changing, take several shots at different exposures and look at your histogram often to make sure you’re catching all the detail.
These polar photography techniques apply directly to Alaska glacier photography techniques where dramatic landscapes and cooperative wildlife rival anything Antarctica offers.
Polar Cruise Wildlife Photography
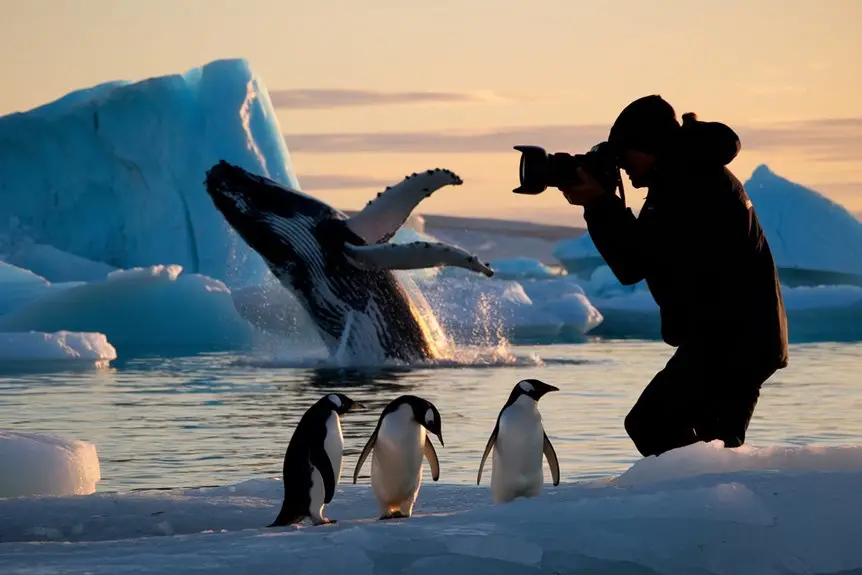
Wildlife photography during polar cruises comes with special challenges you won’t see elsewhere.
Keep your camera handy with the right settings ready to go – you never know when whales, seals and seabirds might show up. Your shutter speed should be at least 1/1000 second for moving wildlife, and it’s worth using burst mode to catch the best bits of action.
For polar bears or penguins, you’ll need a telephoto lens of at least 300mm.
Try to get the animal’s eyes in focus and leave room in the frame where they’re looking. Think about what’s behind your subject – plain ice or water usually looks better than busy landscapes.
Mind the bright snow though – you’ll likely need to bump up your exposure by +1 to +2 stops to avoid dark photos.
Polar Cruise Cold Weather Photography
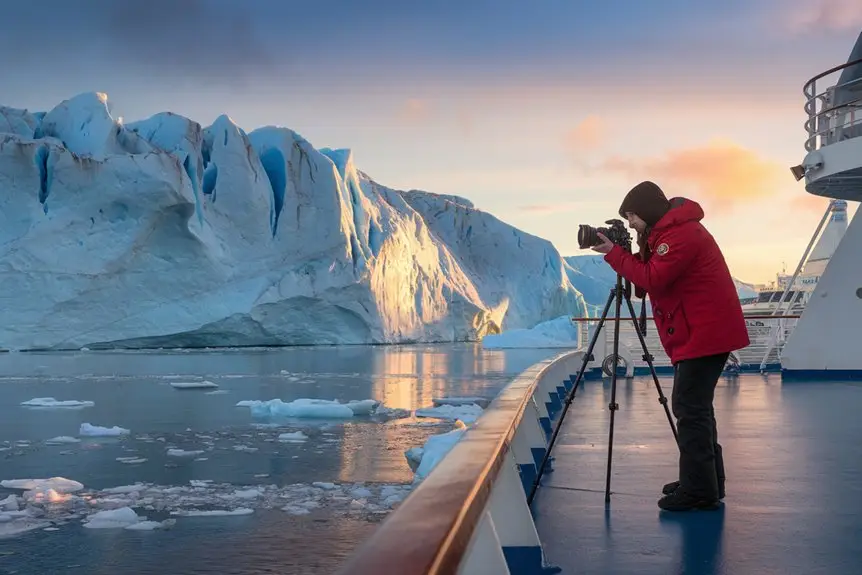
The freezing polar environment can be a right pain for cameras and photographers. You’ll need to look after yourself and your kit in the extreme cold and wet conditions while getting those brilliant shots.
| Challenge | Solution |
|---|---|
| Battery drain | Pack extra batteries, keep them warm in inside pockets |
| Lens fogging | Adjust gear slowly to temperature, use lens hood |
| Camera freeze-up | Keep spare camera in insulated bag |
| Moisture damage | Use silica gel packets, weatherproof covers |
| LCD malfunction | Shield screen, use viewfinder when possible |
When you’re taking photos in temperatures below zero, you’ll want proper photography gloves that let you move your fingers properly. Don’t breathe straight onto your viewfinder or lens – your warm breath will make it frost up straight away.
Put your camera in a plastic bag before heading indoors, or you’ll end up with loads of condensation.
Polar Cruise Photography Classes
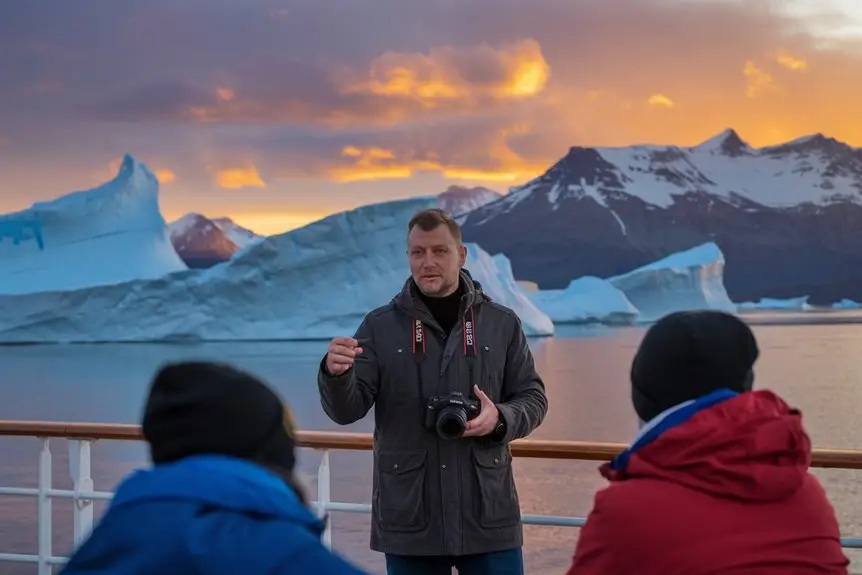
Most polar cruise ships run photography classes to help you handle the tricky business of Arctic and Antarctic photography.
You’ll find brilliant photographers teaching sessions for everyone, whether you’re just starting out or you’re a dab hand with a camera.
The classes usually cover:
- Getting your camera settings right for snow, ice and dim light
- How to photograph wildlife like polar bears, penguins and seabirds
- Ways to frame stunning shots of icebergs and glaciers
- Tips for touching up your polar photos afterwards
- How to keep your gear safe and working in harsh weather
You’ll learn through classroom lessons and practical sessions out on deck.
Many ships also do private tutorials where you can get personal help with any photography problems you’re having during your trip.
Frequently Asked Questions
How Do I Prevent My Eyeglasses From Fogging While Taking Photos?
You’ll want to pop some anti-fog spray on your lenses, use a defogger insert to keep them warm, or switch to contact lenses. Try not to breathe upwards whilst taking shots, as your warm breath will make them go foggy.
What’s the Best Way to Photograph the Northern Lights or Southern Lights?
Just like trying to nab fireflies, you’ll want a fair bit of patience and the right gear. Pop your camera on a tripod, go for a slow shutter speed (15-30 seconds), keep your aperture wide (f/2.8), and bump up your ISO (1600+) to snap those brilliant lights dancing across the sky.
Should I Use a Waterproof Camera Housing or Weather-Sealed Camera Body?
You’ll need both for polar photography, really. A weather-sealed body keeps light snow and cold at bay, whilst a waterproof housing gives you that extra protection when you’re shooting near water or getting pelted with heavy rain and snow.
How Do I Capture the Scale of Icebergs in Photographs?
Pop people, boats or wildlife into your photos to show how big these icebergs really are. Try taking snaps from lots of different spots and distances – it’s brilliant for showing off just how massive these frozen giants can be.
What Are the Best Times for Photographing Snow Without Harsh Glare?
You’ll get brilliant snow photos during the ‘blue hour’ just before sunrise or after sunset when the light’s nice and gentle. The early morning and late afternoon are also ace times – less glare and you can really see all the lovely snow patterns.
🐧 Polar Cruise Enquiry 🐻❄️
Our team of polar travel specialists have personally explored both the Arctic and Antarctic regions – from tracking polar bears in Svalbard to kayaking with penguins off the Antarctic Peninsula. Let us find the right polar expedition cruise for you.
